Recurring appointments let you book a regular client's grooms months ahead in one go, for example every 4 weeks on Tuesday at 10:15 AM. Before anything is booked, you see the full list of dates and can move or skip any date that clashes with your schedule.
To create recurring appointments
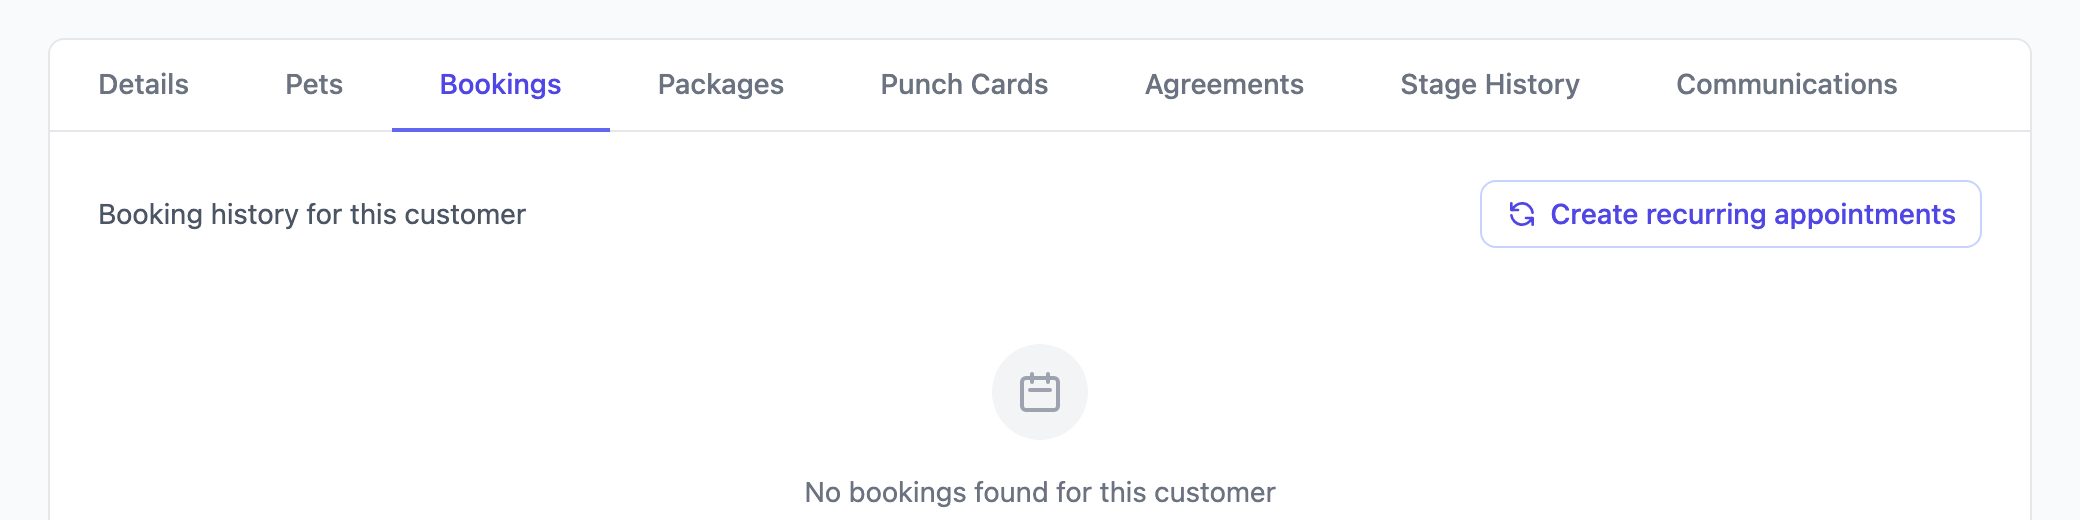
Go to Customers, open the customer, and select the Bookings tab.
Click Create recurring appointments.
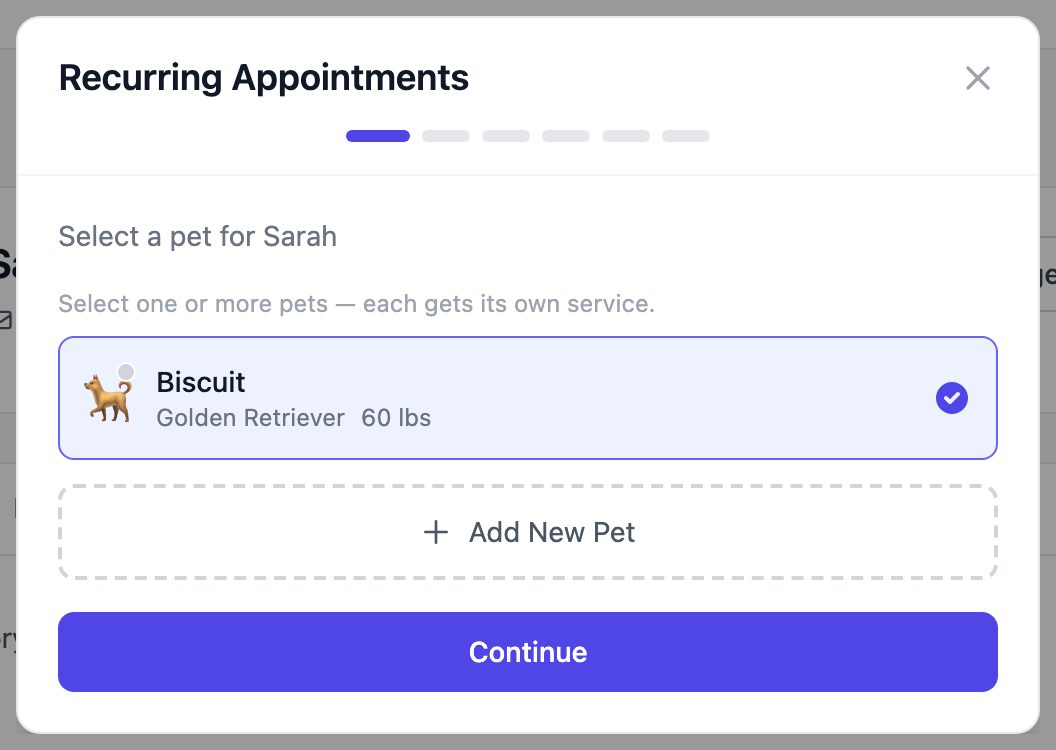
Select the pet, then click Continue. You can select more than one pet. Each pet gets its own service.
Select the service, then click Continue. If the service has add-ons, you can pick them next.
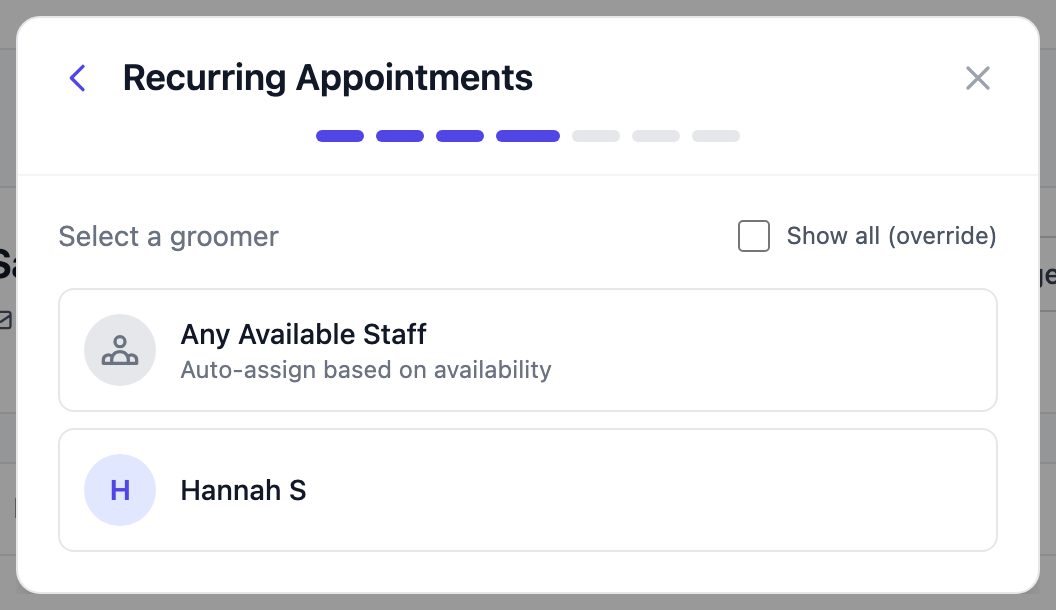
Select a groomer, or choose Any Available Staff to have one assigned automatically for each date.
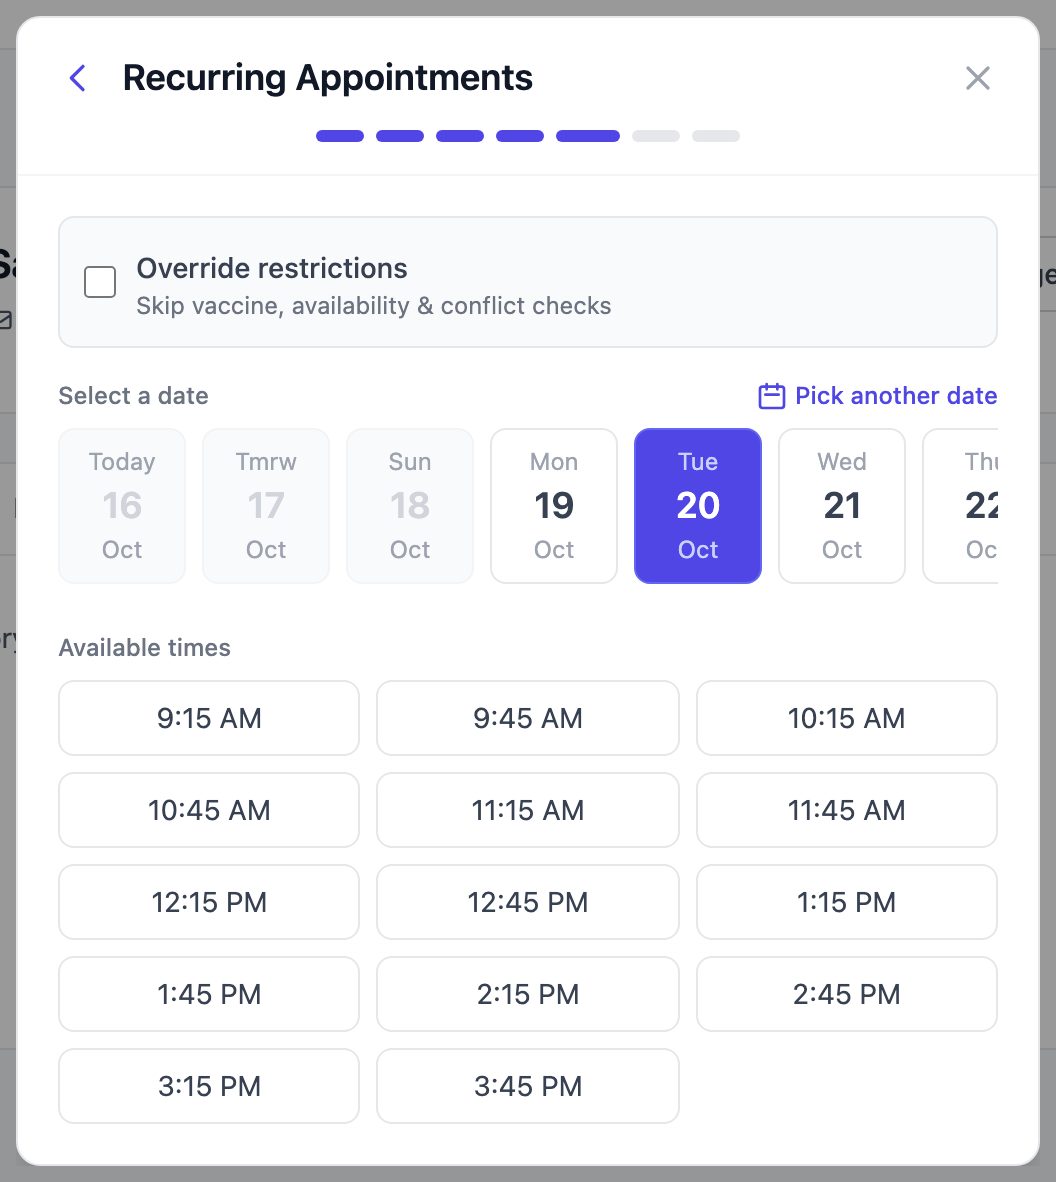
Pick the date and time of the first appointment. Only days and times when the groomer is available can be selected.
Set how often the appointment repeats.
- Repeat every: enter a number from 1 to 12, then choose Weeks or Months.
- Number of appointments: how many appointments to create in total, up to 26. The first appointment counts.
The summary below the fields shows exactly what will be booked, for example "Creates 3 appointments, every 4 week(s) on Tuesday at 10:15 AM."
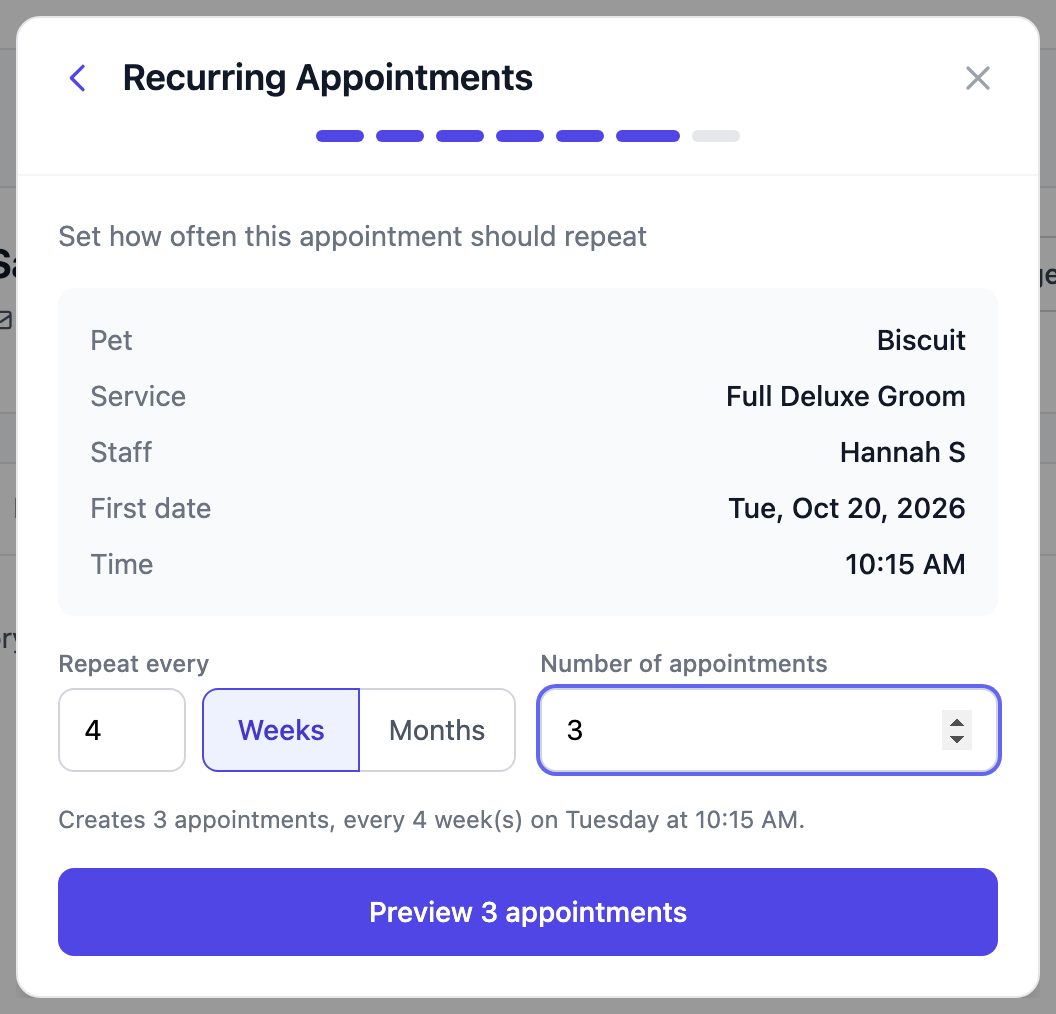
Click Preview appointments, then check each date. Each row shows a status:
- OK: the slot is free.
- Staff busy or Customer busy: the groomer or the customer already has a booking at that time.
- Outside hours or Closed day: the groomer isn't working, or your business is closed.
To fix a row, click −1d or +1d to move it by a day, or Skip to leave it out. Click Restore to bring back a skipped row.
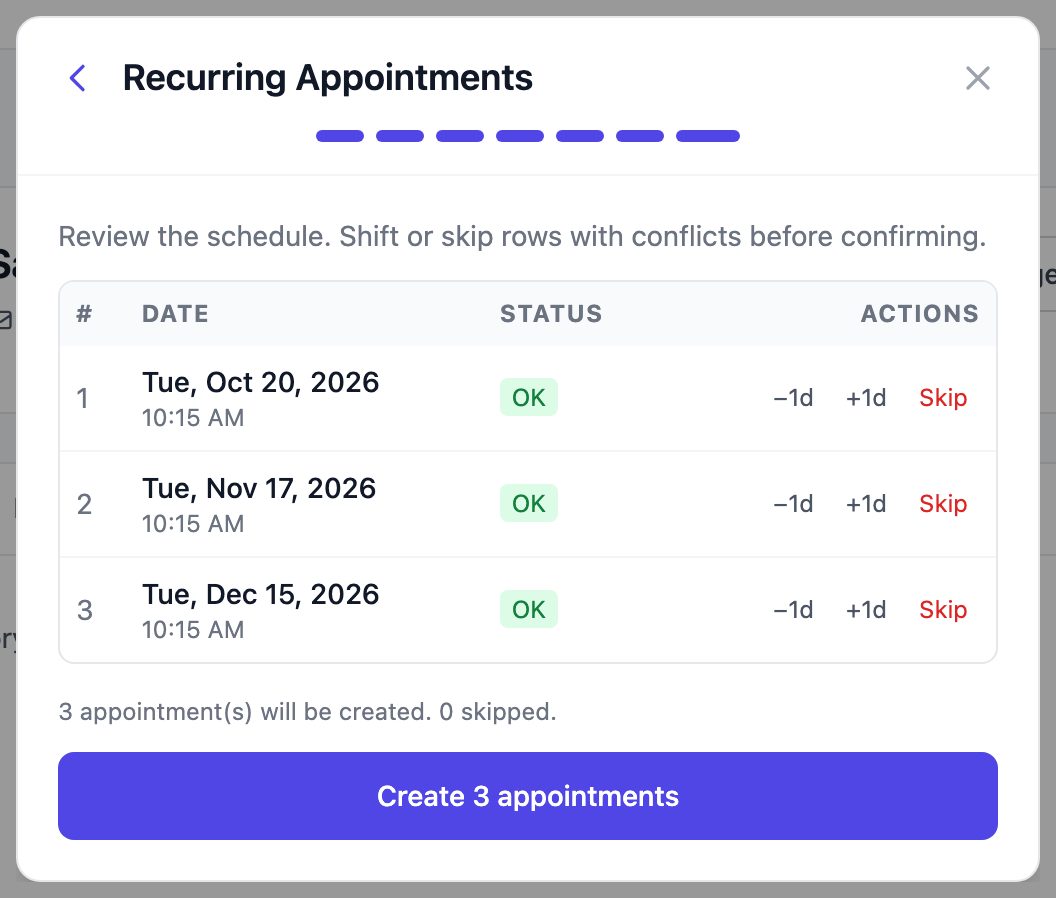
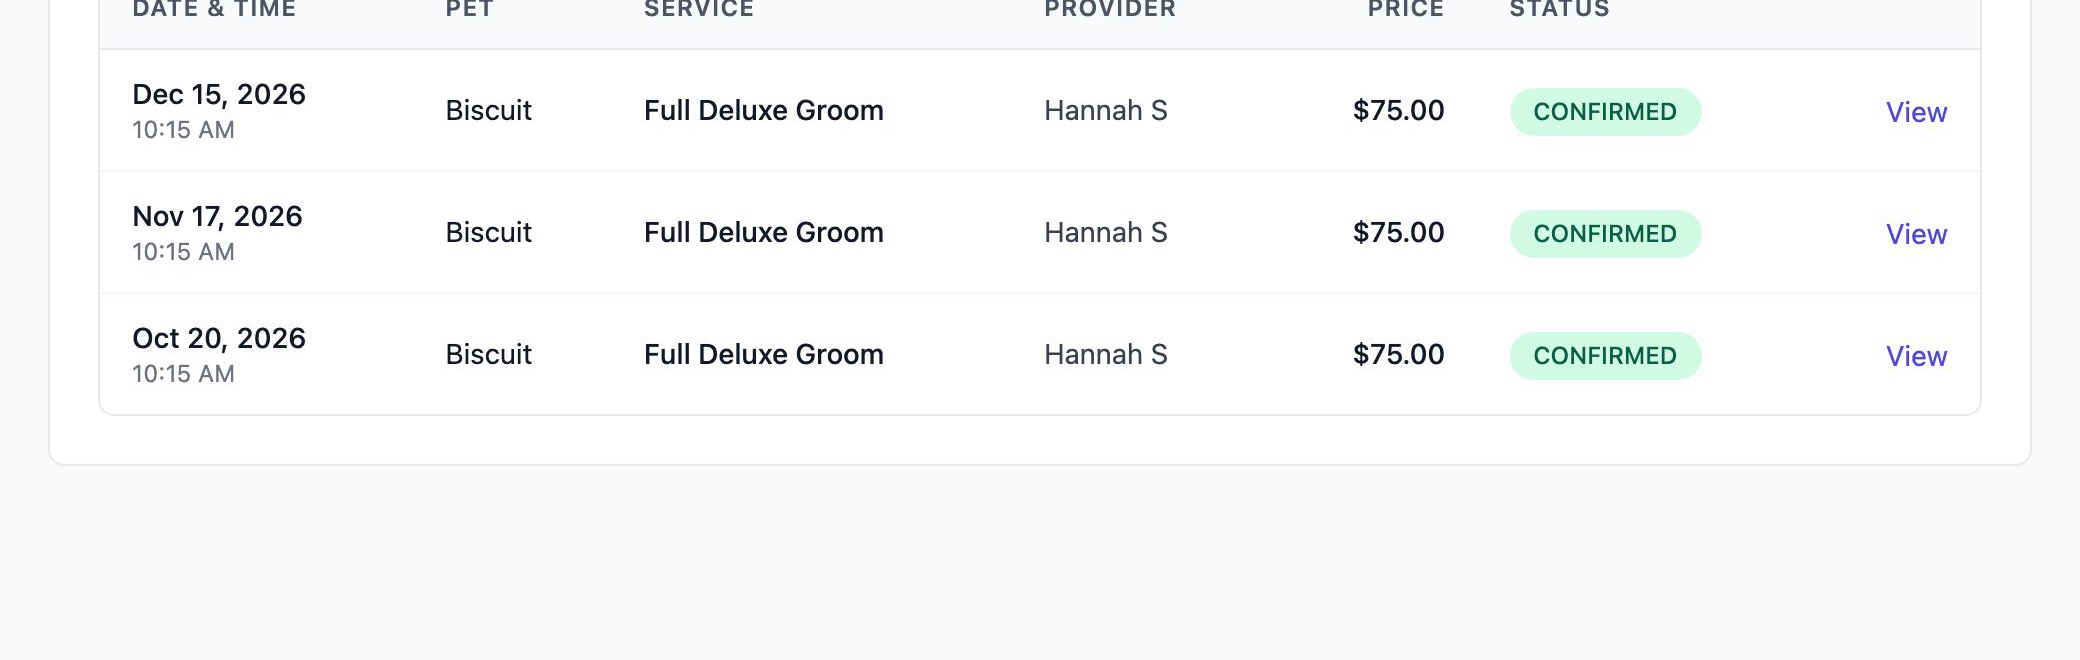
Click Create appointments. The appointments appear on the customer's Bookings tab and on your calendar.
Note: If any date in the preview still shows a conflict, you'll need to move or skip it before you can create the appointments.
Note: The customer receives one confirmation, for the first appointment, not one for every date.
To change or cancel a recurring appointment
Each appointment in the series is a normal, separate booking. To reschedule or cancel one, open it from the calendar or from the customer's Bookings tab and change it as usual. Changing one appointment doesn't affect the others.
Tip: To cancel all the remaining appointments, cancel each one from the customer's Bookings tab.